 English
 عربى
عربى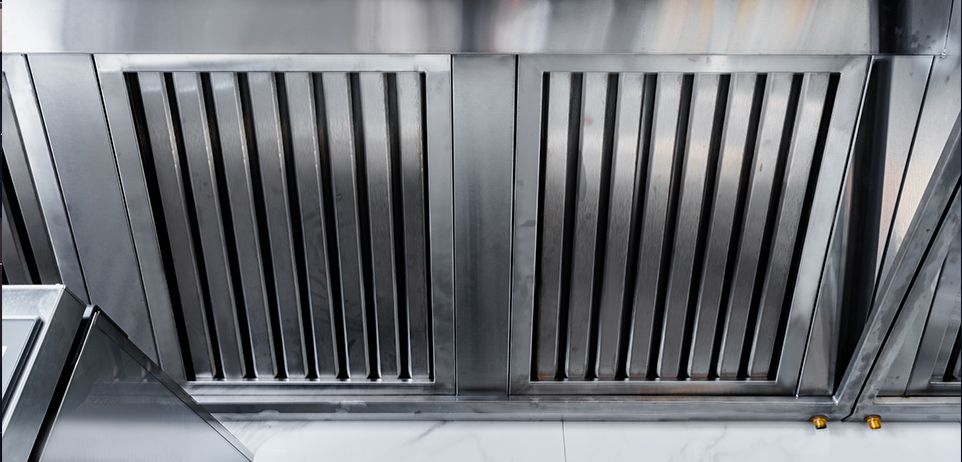
Zhejiang Yuede Environmental Protection Technology Co., Ltd. is located at 505 Lanshang Road, Xinwan Street, Qiantang District, Hangzhou City.
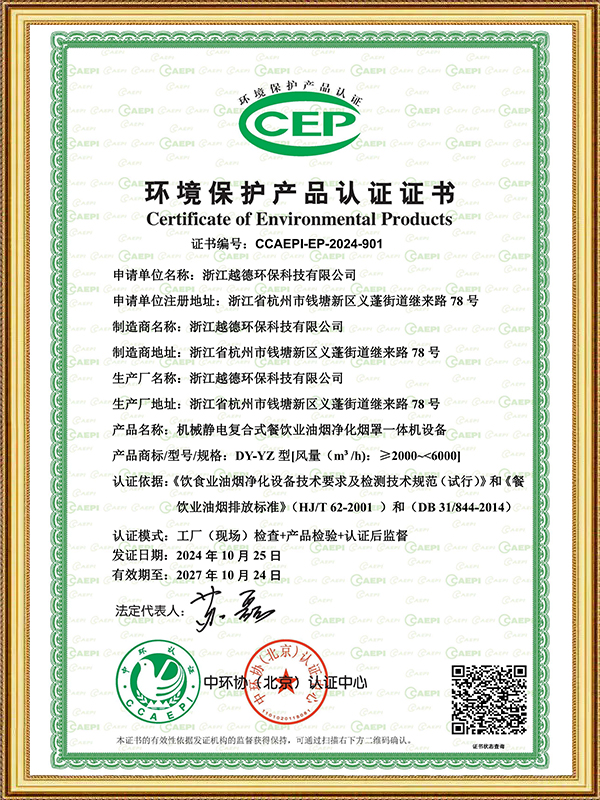
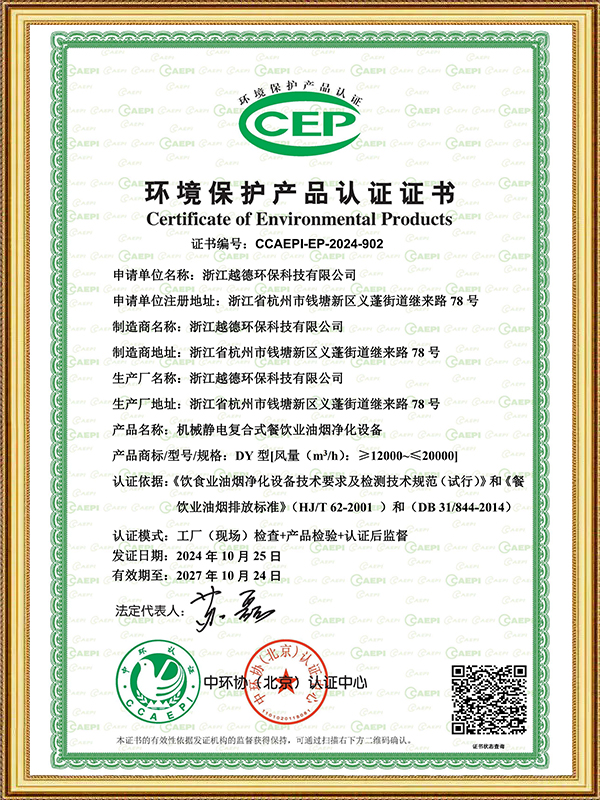
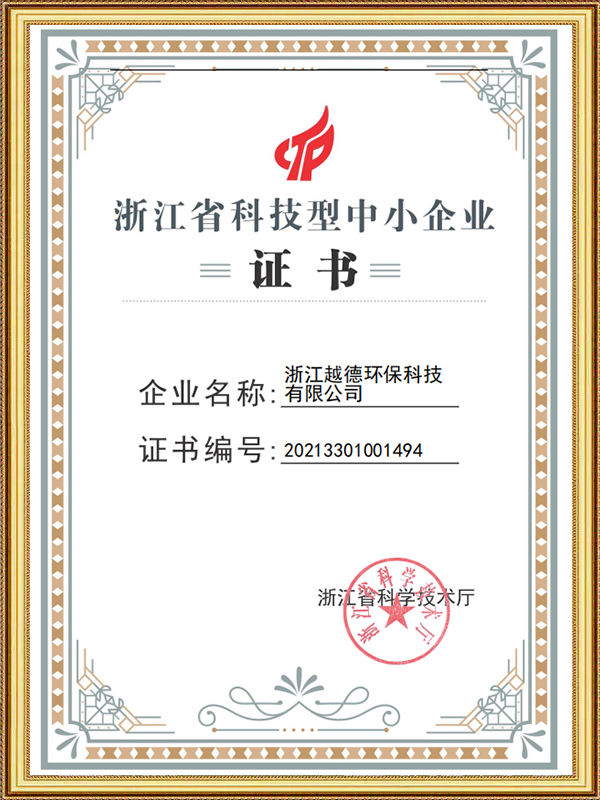
The company is mainly engaged in the research, development, production, and sales of oil fume purification and exhaust equipment, and is one of the few manufacturers in the industry with the ability to develop electronic software systems and design sheet metal structures.
The products specifically include oil fume purifiers, oil fume purification all-in-one machines, intelligent cleaning all-in-one machines, fans, fresh air cooling fans, and intelligent smoke exhaust systems.
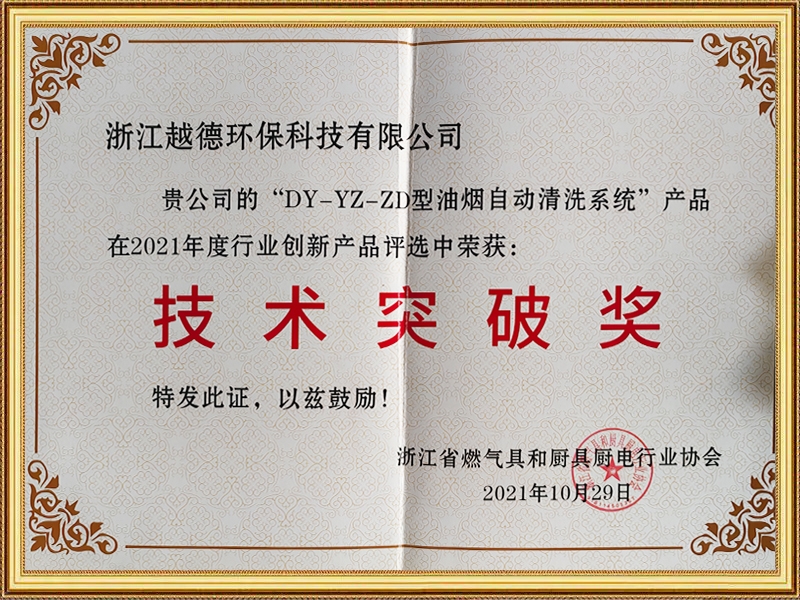
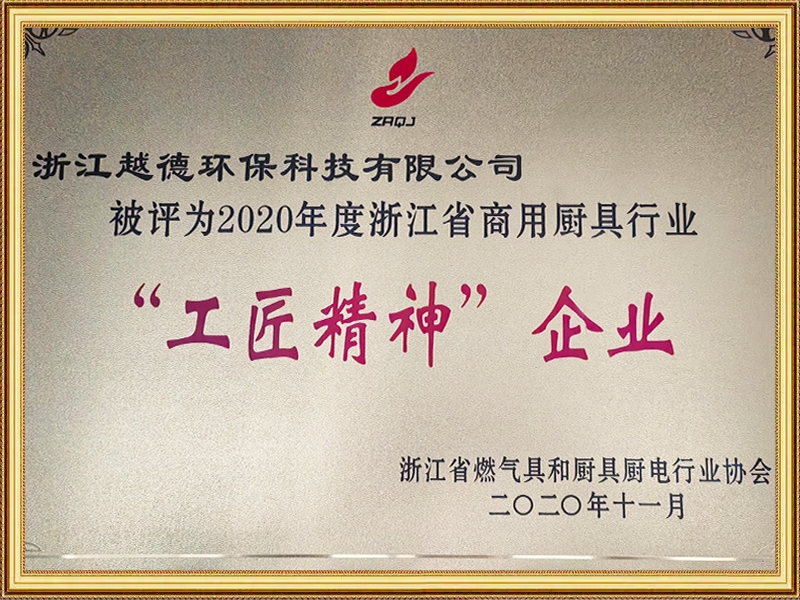
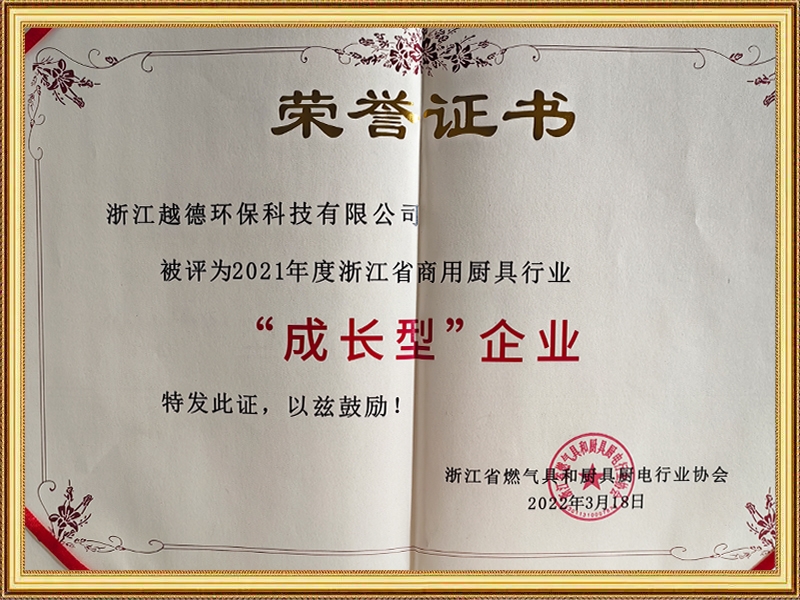
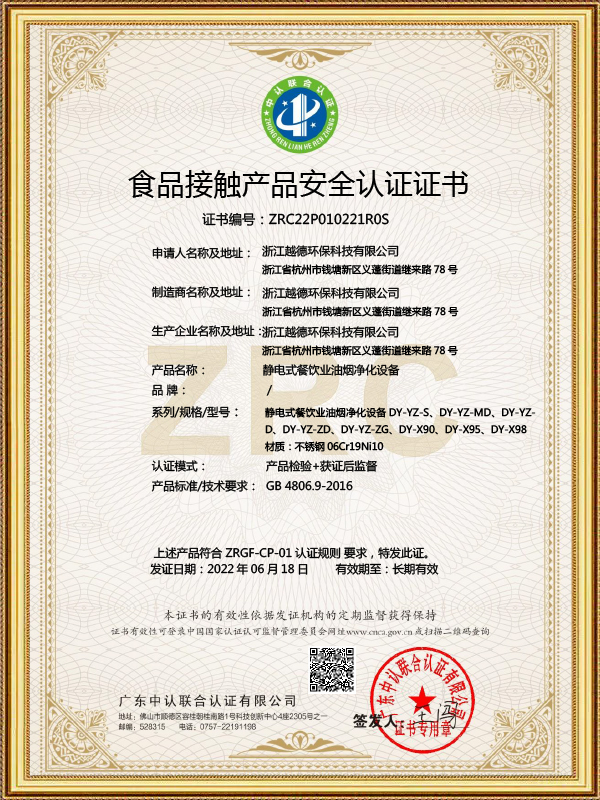
Since 2020, the company has accumulated 2 invention patents and 31 utility model patents. Among them, the practical patent - the splicing technology of all-in-one machines has been adopted by more than 80% of peers; The patents related to intelligent cleaning and intelligent smoke exhaust systems are breakthrough or leading technologies in the industry. Traditional product companies such as oil fume purifiers and fans have optimized their structure and process to achieve better results and higher grades.

Products & Solutions
CONTACT US
-

+86-(0)571-56682212
-

-

No. 505 Lanshang Road, Xinwan Street, Qiantang New District, Hangzhou City, Zhejiang Province
Commercial Kitchen Integrated Range Hood
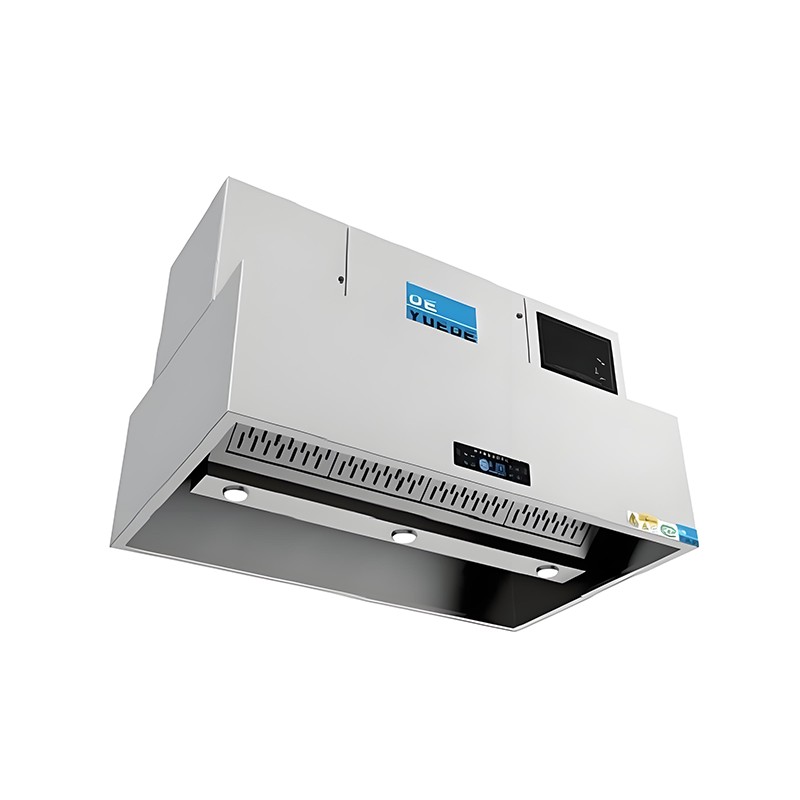
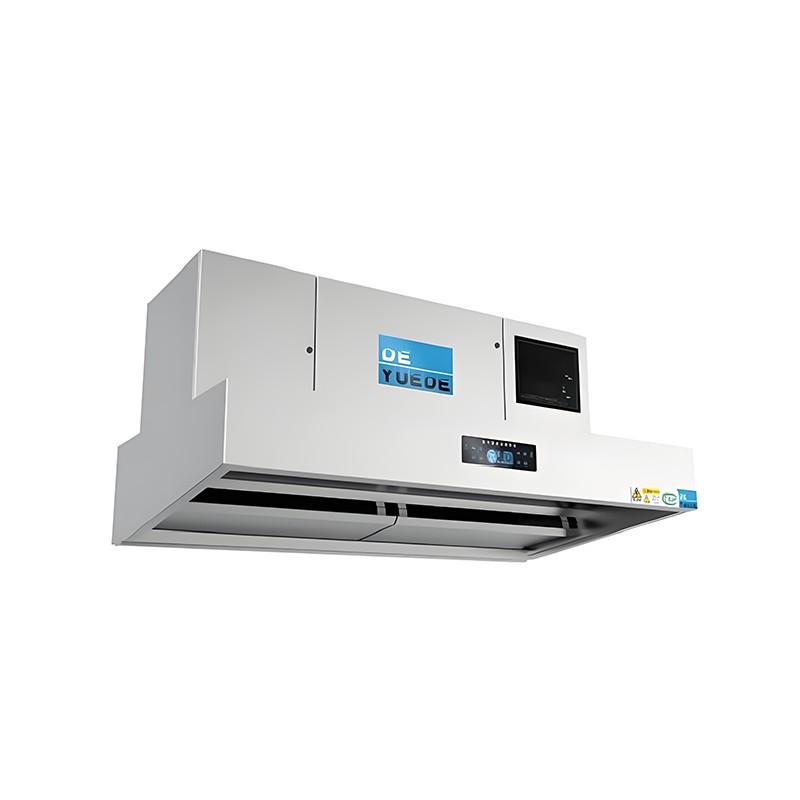
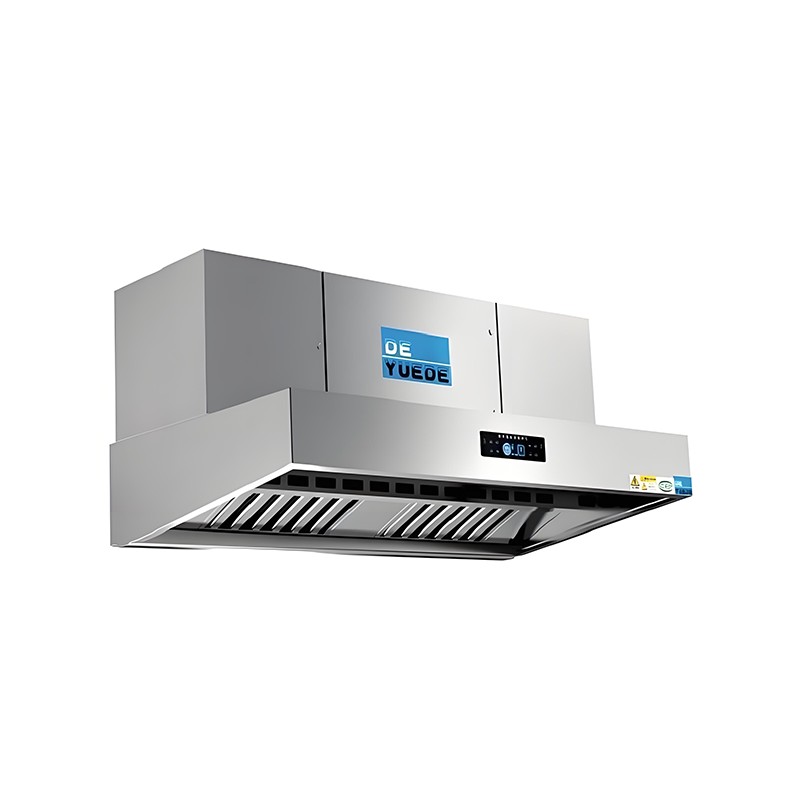
The commercial kitchen integrated exhaust hood is primarily used in restaurants, hotels, institutional and corporate canteens, barbecue restaurants, and fast-food chains to collect, purify, and exhaust cooking fumes. This all-in-one unit combines fume collection, purification, and exhaust functions in a single system. It is operated through an intelligent control board with a touchscreen interface.
Both the housing and the electrostatic field are made of 201 stainless steel, offering excellent corrosion resistance and a service life of more than five years. The electrostatic field features a two-stage purification design: the first stage ionizes the air to electrically charge grease and smoke particles, and the second stage collects the charged particles. The system achieves purification efficiency of up to 98%.
The unit also features overcurrent protection, overvoltage protection, and automatic voltage regulation. Its patented high-voltage output technology and optimized airflow design deliver reliable performance, effective exhaust, and convenient maintenance. In addition, the patented modular splicing design improves installation flexibility for large commercial kitchens.
About Us
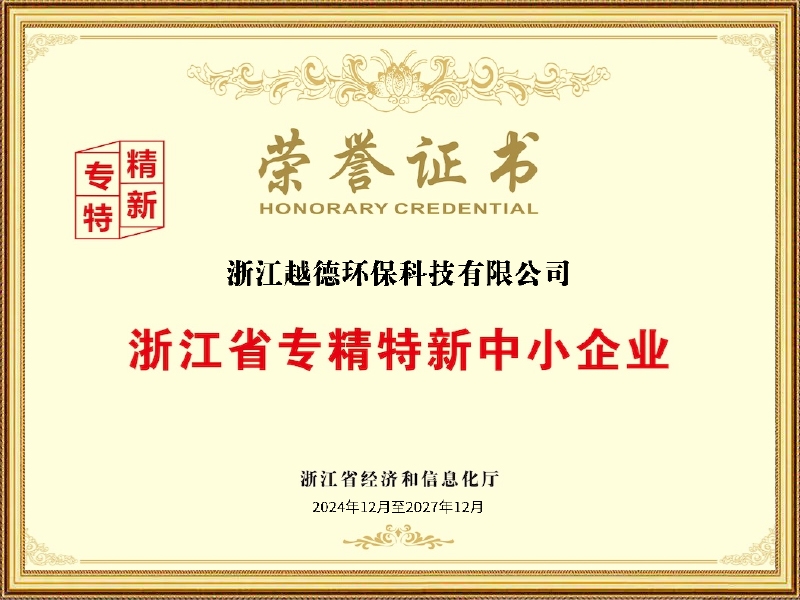
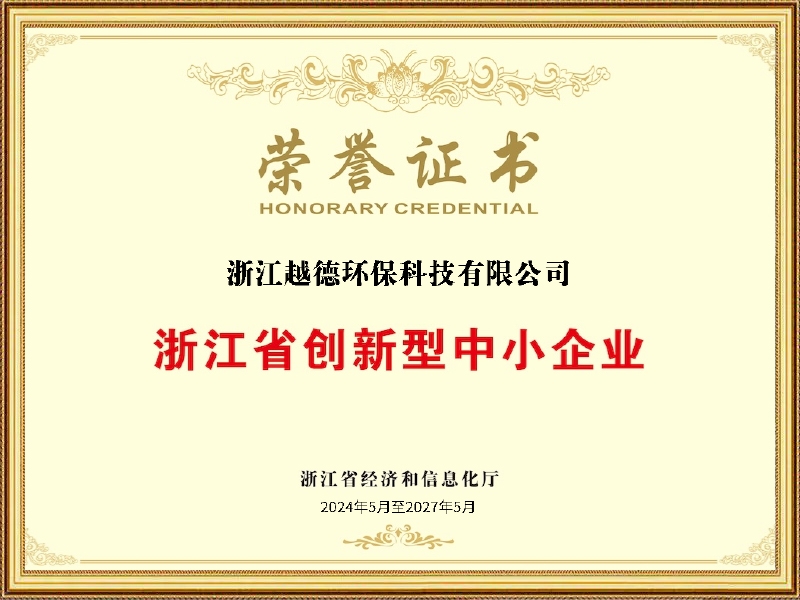
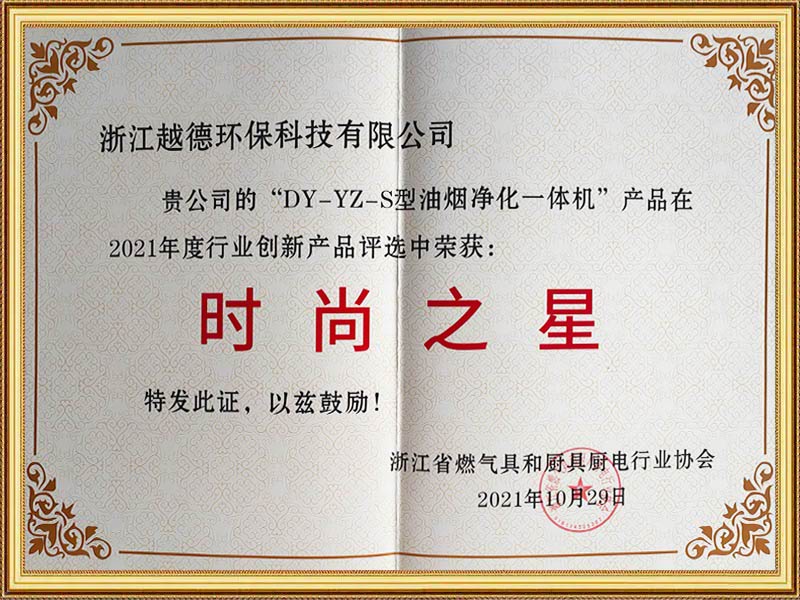
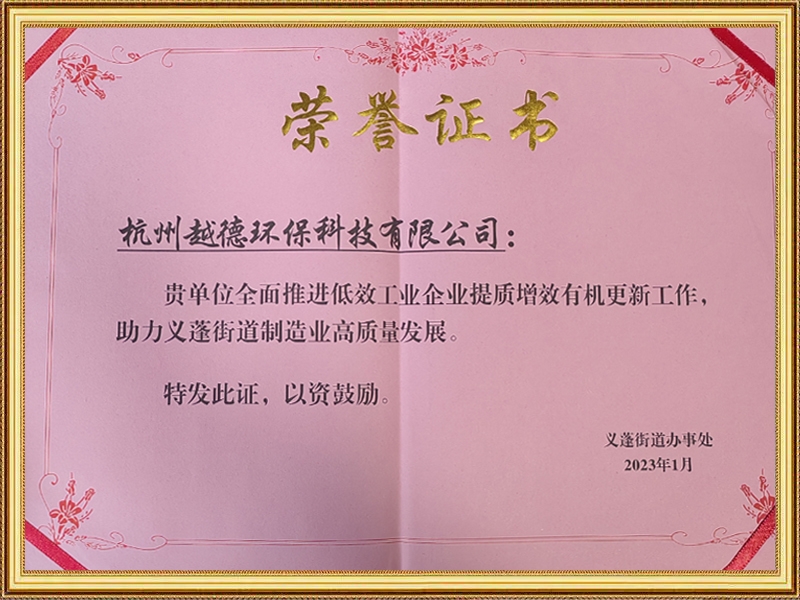
Zhejiang Yuede Environmental Protection Technology Co., Ltd.


Message Feedback
Commercial Kitchen Integrated Range Hood Industry knowledge
Industry Knowledge
Capture Velocity and Overhang: Why Bigger Hoods Aren't Always Better
At Zhejiang Yuede, one of the most common design mistakes we see corrected during retrofit consultations is a hood sized purely by CFM without matching the overhang dimension to the actual equipment footprint below. Capture efficiency depends far more on the hood extending 6–12 inches beyond the front edge of the cooking equipment on each open side than on raw airflow volume — a hood with generous overhang can capture smoke effectively at 300 CFM per linear foot, while an undersized hood with no overhang can still leak visible smoke even at 500 CFM per linear foot because thermal plumes drift outward before reaching the capture zone.
Mounting height matters just as much. Raising a hood from the typical 6.5 feet to 7 feet above the floor to accommodate taller equipment or staff can increase the required capture airflow by 15%–20%, since the thermal plume has more distance to disperse before reaching the hood face. Anyone specifying an Integrated Kitchen Exhaust Hood for a new build should confirm mounting height against equipment height first, then size airflow — not the reverse.
- Overhang: minimum 6 inches on closed sides, 12 inches on open/exposed sides
- Every 6 inches of added mounting height above 6.5 feet typically adds 15%–20% to required CFM
- End panels on open-sided island hoods reduce cross-drafts from HVAC supply diffusers pulling smoke sideways out of the capture zone
Condensate and Grease Drainage Paths That Prevent Ceiling and Floor Damage
A hood that captures grease effectively but drains it poorly simply relocates the mess rather than solving it, and drainage is one of the most overlooked details in kitchen exhaust design. Grease and condensate should slope toward a single low point at roughly a 1/8-inch-per-foot grade, feeding a removable collection cup rather than pooling along a flat gutter bottom where residue hardens and becomes difficult to clean without disassembly. For a Commercial Kitchen Integrated Range Hood that combines the capture hood, filtration stage, and fan interface into one welded housing, this drainage slope needs to be engineered as a continuous path across all sections rather than assembled from separately sloped field segments, which is where seam leaks most often originate.
Placement of the collection cup also affects safety compliance — most fire codes require it to sit at least 16 inches from any open flame or exposed heating element, and it should never discharge directly onto a floor drain shared with wastewater, since hardened grease can clog municipal lines over time. A dedicated, sealed grease container that staff remove and empty on a set schedule remains the more reliable approach for high-volume kitchens.
Fire Suppression Integration: Nozzle Placement Inside the Hood Plenum
Wet chemical fire suppression nozzles are frequently installed as an afterthought once the hood is already fabricated, which forces compromises in nozzle angle and coverage. Nozzles positioned inside the plenum need clear line-of-sight to the duct collar opening, and any baffle filter bank sitting directly in that path can block full nozzle discharge during an actual fire event — a detail that only becomes obvious during a failed inspection rather than during design.
Coordination points worth confirming before fabrication
- Nozzle penetration locations should be defined before the hood shell is welded, not drilled afterward
- Appliance-specific nozzles (fryer, griddle, charbroiler) each require different discharge patterns and cannot be substituted interchangeably
- Fusible link spacing above each appliance should follow the suppression manufacturer's UL 300 listing exactly, since spacing errors are among the top reasons systems fail annual inspection
Because our in-house sheet metal and control fabrication lines at Yuede allow fire suppression penetrations to be planned into the shell design before welding rather than retrofitted afterward, coordination with the suppression contractor happens at the drawing stage, which avoids costly on-site rework.
Serviceability: Designing Access Before You Need It, Not After
The long-term cost of an exhaust hood is driven far more by how easily technicians can access internal components than by the initial purchase price. Filter racks that require full removal of an end panel to swap, control wiring routed behind welded baffles, or fan motors mounted with no service clearance all turn routine maintenance into hour-long jobs that could otherwise take minutes.
| Component | Poor Access Design | Recommended Access Design |
|---|---|---|
| Grease filters | Fixed frame, tools required | Slide-out tool-free rack |
| Control wiring | Routed behind welded panel | Dedicated hinged access panel |
| Fan motor | No clearance around housing | Minimum 18-inch clearance on service side |
This is one reason the splicing method used in modular units of a Commercial Kitchen Integrated Hood has been adopted so widely across the industry — individual sections can be serviced or swapped out independently, so a fault in one module doesn't require pulling the entire hood assembly down for repair.
- No. 505 Lanshang Road, Xinwan Street, Qiantang New District, Hangzhou City, Zhejiang Province
- +86-(0)571-56682212
- [email protected]
Copyright @ Zhejiang Yuede Environmental Protection Technology Co., Ltd. All rights reserved Customized Commercial Kitchen Exhaust System Solution
